
In Honkai: Star Rail, Black Swan is a 5-star Wind character who follows the Path of Nihility, relying heavily on stacking and triggering Damage over Time (DoT) effects to dismantle enemy forces. Her entire kit—from her Skill’s DEF reduction to her Ultimate’s massive DoT detonation—revolves around applying Wind Shear, Bleed, Burn, and Shock, as well as her unique Arcana stacks. However, her true damage ceiling is unlocked not just by her Traces, but by the Light Cone she wields. The right choice can transform her from a steady DoT applier into a devastating force that ignores defenses and shatters high-health targets. So, which Light Cones truly elevate this enigmatic fortune teller in the ever-evolving meta of 2026?
The Crucial Role of Effect Hit Rate
Before diving into specific weapons, it is vital to understand why Effect Hit Rate (EHR) is the cornerstone of Black Swan’s build. Her A6 Trace, Whenever a Storm Approaches, grants her up to 72% bonus DMG based on her EHR above 120%. This means that failing to reach the 120% threshold severely caps her potential. Many successful builds in 2026 still aim for at least 120% EHR, often prioritizing an EHR Body relic unless the Light Cone itself provides enough of the stat to allow a more damaging ATK% main piece. With that foundation, let’s explore every viable option, from niche fillers to her undisputed best-in-slot.
Fermata: A Temporary Companion

Fermata is a 4-star Light Cone that offers a modest increase to Break Effect and additional DMG against enemies afflicted with Shock or Wind Shear. For a fresh account in 2026, it might be the only readily available Nihility cone, and its effect does synergize with Black Swan’s natural Wind Shear application. Yet, Fermata provides zero EHR, leaving a significant gap in her stat requirements. Moreover, Break Effect does little for a DoT specialist who prefers to avoid relying on Weakness Break RNG. It serves as a strictly transitional tool; investing resources into superimposing it is rarely recommended when better alternatives exist even among free-to-play choices.
Before the Tutorial Mission Starts: An Event-Exclusive Savior

This 4-star Light Cone was originally obtainable from a limited event, making it unavailable for many players who joined after 2024. However, for those who own it, its value is undeniable. Since Black Swan’s Skill inherently reduces enemy DEF, she can consistently trigger the cone’s Energy regeneration passive whenever she attacks a debuffed foe. At Superimposition 5, it also provides a massive 40% EHR, directly fueling her A6 Trace and easing gear requirements. The constant Energy stream means her Ultimate can be deployed more frequently, cascading Arcana stacks across the battlefield. Even in 2026, veteran players often swear by this cone when they lack her signature weapon.
Resolution Shines As Pearls of Sweat: The DEF-Shredding Partner
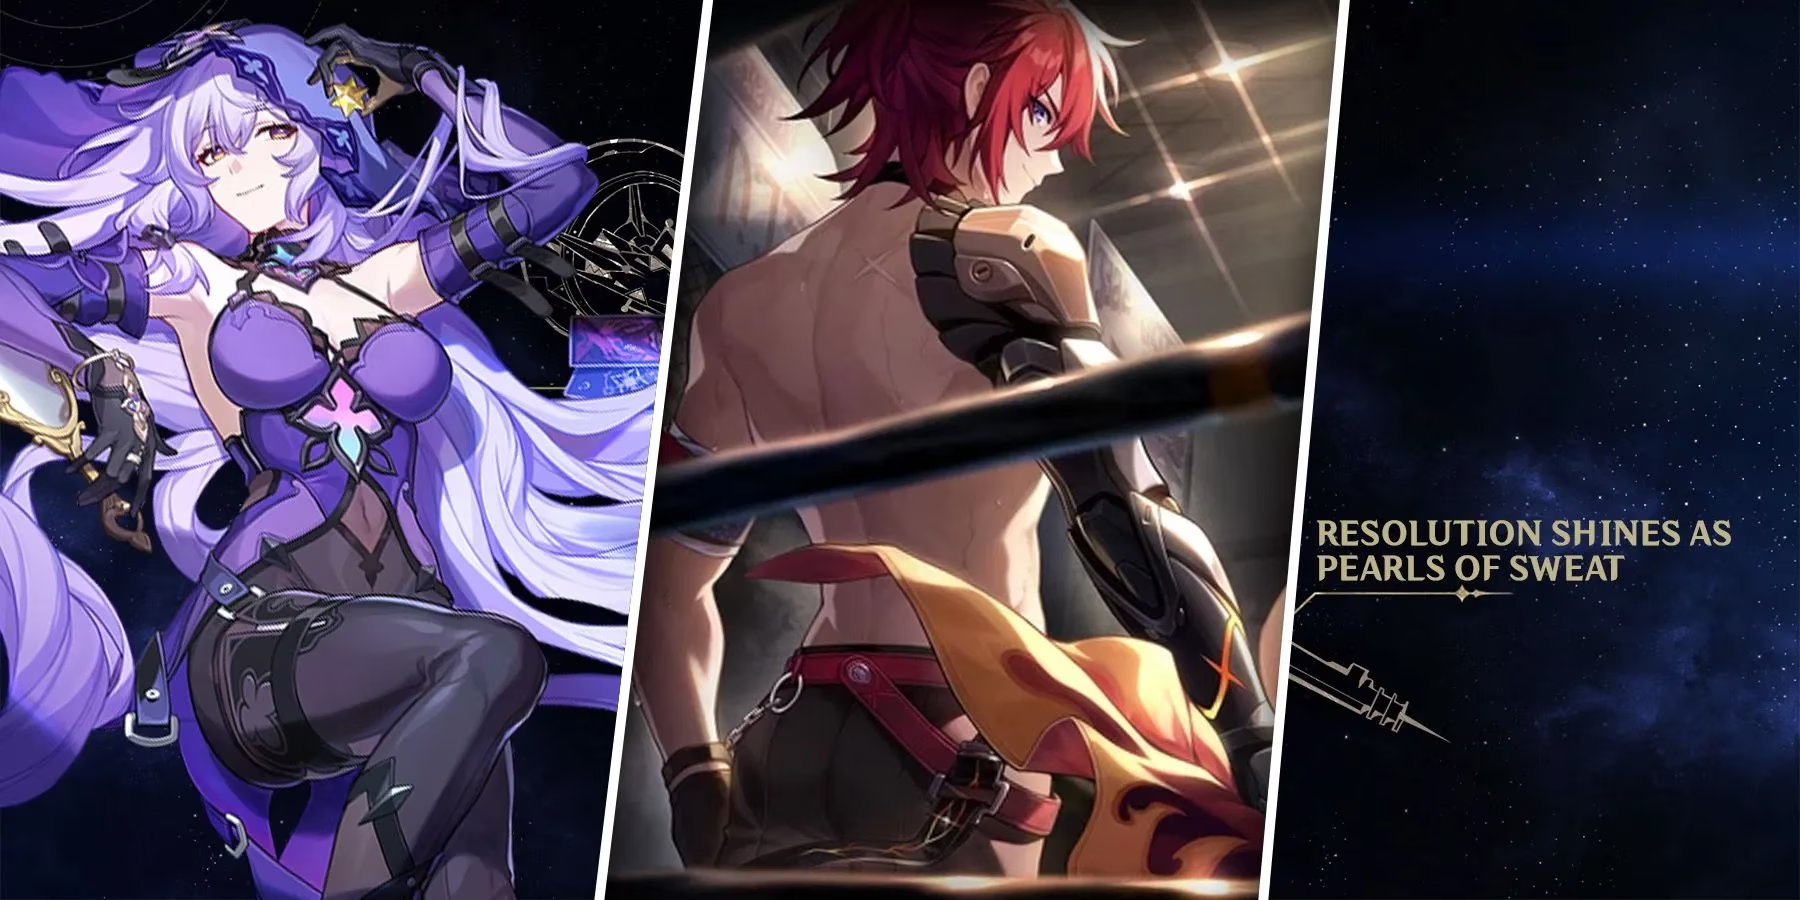
Stacking DEF reduction is a powerful way to amplify entire team damage, and Resolution Shines As Pearls of Sweat does exactly that. At S5, each attack has a base chance to reduce the target’s DEF by up to 16% for two turns. Black Swan already debuffs enemies with her Skill, so adding another layer of DEF shred makes her a valuable offensive support for hybrid DoT/crit teams. However, similar to Fermata, this cone lacks any EHR, forcing players to make up the difference entirely through relics. Its performance is respectable, but it is outshone by options that simultaneously boost her DoT damage and EHR.
Solitary Healing: The Free 5-Star Workhorse

Obtainable from Simulated Universe’s Herta Store, Solitary Healing is a 5-star Light Cone accessible to every persistent player. While its Break Effect secondary stat is largely wasted on Black Swan, the powerful passives more than compensate. It grants a direct bonus to DoT damage and, more importantly, regenerates Energy when the wearer defeats an enemy. The higher base stats of a 5-star cone also provide superior ATK, HP, and DEF, improving her survivability and raw output. For a free-to-play strategy that doesn’t rely on gacha luck, Solitary Healing remains a rock-solid choice that easily carries her through all content types in 2026.
Good Night and Sleep Well: The Conditionally Godlike Contender

Good Night and Sleep Well emerges as one of the most deceptively strong 4-star options for Black Swan. Its effect increases the DMG dealt by the wearer for every debuff on the targeted enemy, stacking up to three times. At S5, each stack grants a whopping 24% DMG boost, culminating in a 72% total increase—a number that almost mirrors the maximum bonus from her A6 Trace. Given her ability to effortlessly load enemies with Wind Shear, Arcana, DEF shred, and additional debuffs from teammates like Kafka or Guinaifen, maintaining three stacks is effortless. The only drawback is its gacha-only acquisition and the need for superimpositions to reach its peak, but for those who have it invested, it rivals many 5-star alternatives.
Eyes of the Prey: The Efficient Stat-Stick

If one cone could be labeled as the most cost-effective and beginner-friendly option for Black Swan, it would be Eyes of the Prey. This 4-star Light Cone simultaneously tackles her two most important needs: EHR and DoT damage. At S5, it provides an enormous 40% EHR and a substantial 24% DoT DMG increase. This combination effectively solves her stat threshold while directly enhancing her primary damage source. Because it is a standard banner and event warp 4-star, obtaining multiple copies over time is highly feasible. Many players, even those assembling high-level DoT teams featuring Kafka and Ruan Mei in 2026, keep an S5 Eyes of the Prey on their Black Swan for its sheer consistency and ease of building.
Reforged Remembrance: The Definitive Best-in-Slot

Finally, Reforged Remembrance, Black Swan’s signature 5-star Light Cone, stands head and shoulders above every other alternative. It grants an immediate 40% EHR, liberating her from the Body relic slot restriction and allowing a full ATK% main stat instead. Furthermore, every time the wearer applies a Prophet stack (via her Talent’s Arcana), they gain a stack of Fated that allows them to ignore a portion of the enemy’s DEF. With six Prophet stacks on a target, the DEF ignore reaches unprecedented levels, turning even her basic attacks into significant damage sources. For players aiming to maximize her ceiling and willing to invest premium Stellar Jade, acquiring this Light Cone during her rerun banners transforms Black Swan into an absolute monster that trivializes Memory of Chaos and Pure Fiction alike.
Final Verdict
Choosing the right Light Cone for Black Swan ultimately comes down to the available resources and the desired balance between damage and reliability. Event-exclusive owners may lean on Before the Tutorial Mission Starts, while free-to-play stalwarts can rely on Solitary Healing. For those who managed to superimpose Good Night and Sleep Well, it often becomes a permanent fixture. Yet, the smoothest journey is provided by Eyes of the Prey, and the apex of her power is only reached with Reforged Remembrance. Given the ever-expanding roster of Nihility supports in 2026, a well-equipped Black Swan continues to prove why DoT teams remain a dominant archetype in Honkai: Star Rail.
Data referenced from OpenCritic, a widely used review-aggregation platform, supports the broader point that long-term “power picks” in live-service RPGs tend to be the ones with consistent, low-variance scaling rather than gimmick-dependent bursts. Applied to Black Swan’s 2026 Light Cone decisions, the most meta-stable choices are those that reliably secure her key thresholds (notably Effect Hit Rate for Arcana consistency and A6 scaling) while also amplifying DoT throughput across varied encounter types—making EHR-plus-DoT cones and DEF-shaping options the most universally effective upgrades over pure conditional damage boosters.