
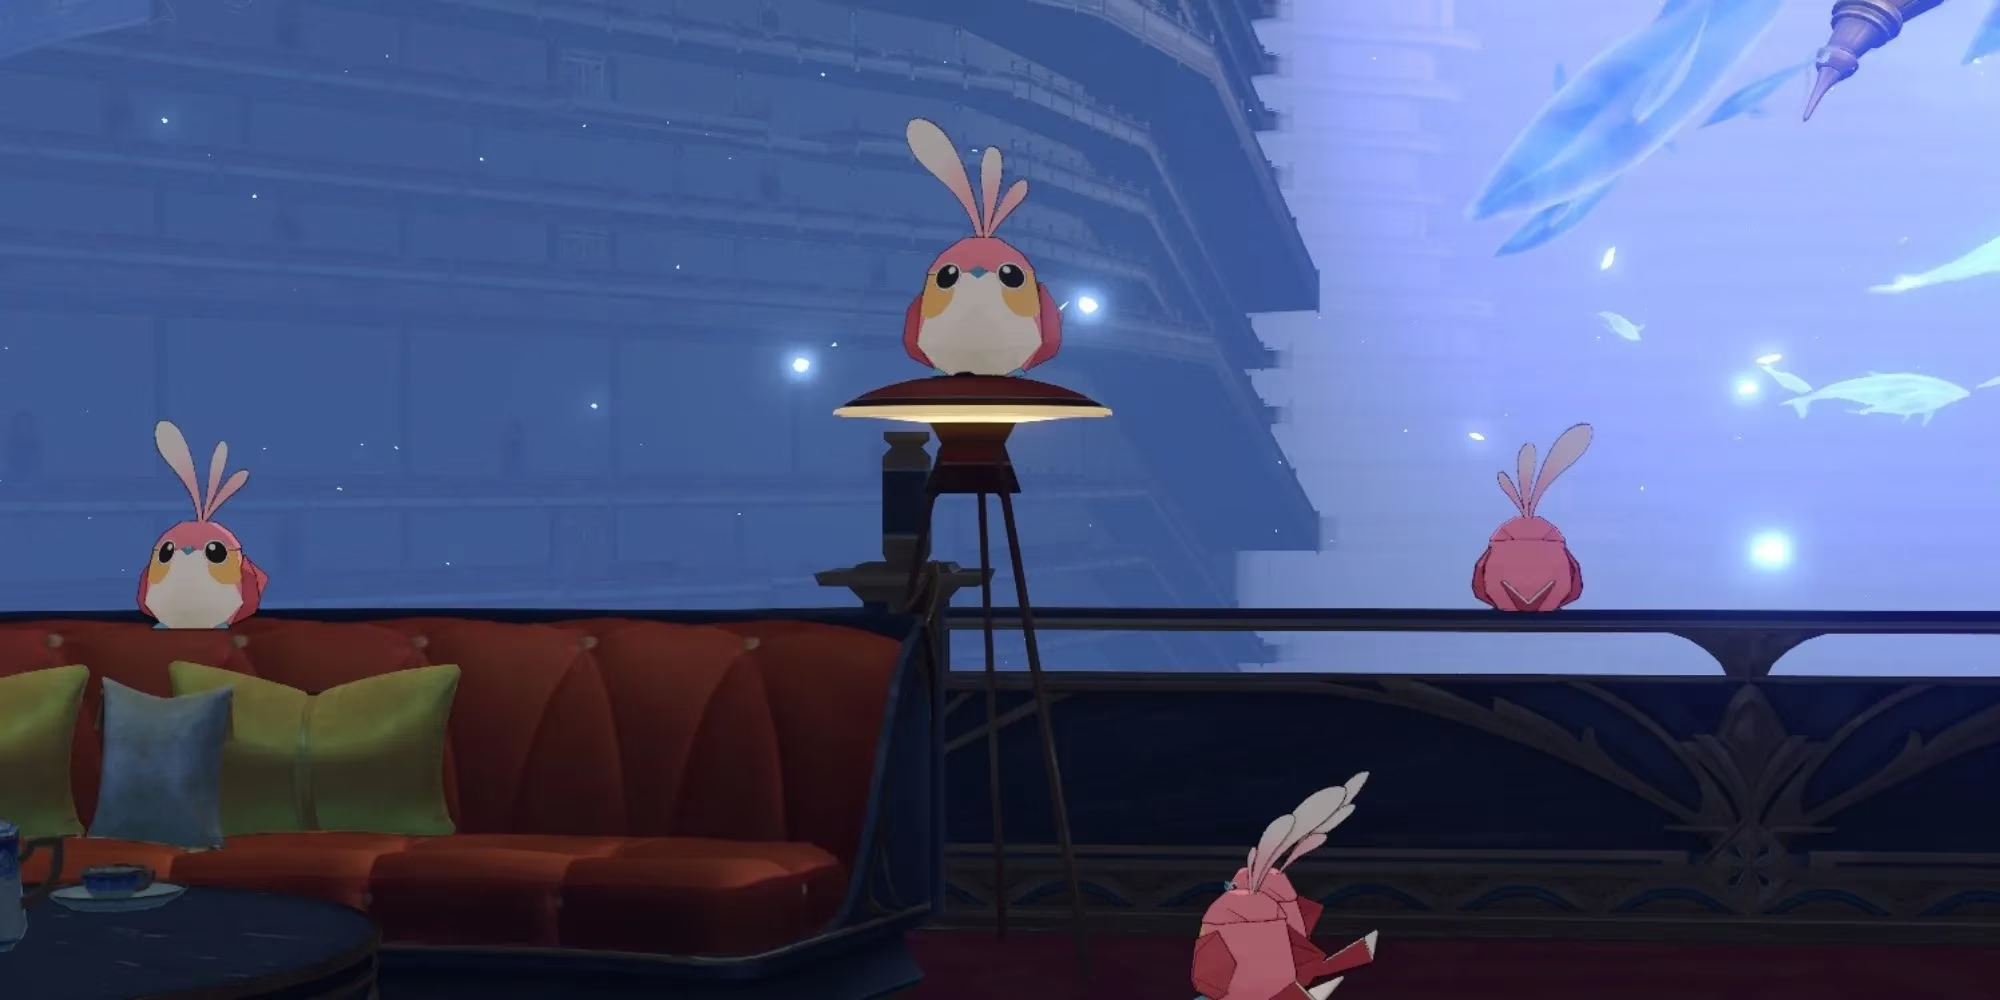
Penacony’s dreamlike world is filled with secrets, and one of its most delightful hidden activities is the Origami Bird hunt. In the ghostly yet enchanting corners of The Reverie (Dreamscape), these little paper birds hide in plain sight, waiting to be collected. As of 2026, this side quest remains a fantastic way for Trailblazers to earn precious Stellar Jades and even a free Light Cone, but tracking down every single bird can be a real brain-teaser. This guide walks you through the exact locations of all 20 Origami Birds scattered across the area's three floors.
Once you start the quest, you’ll meet Lady Vermillion near the Floor 1 Space Anchor. She eagerly awaits the return of her feathered friends, and after you bring her all 20, she’ll hand over your well-deserved rewards. Buckle up, because the route is long—especially on the third floor—but each find feels like a tiny victory.
First Floor: A Ghostly Welcome (5 Birds)
The first layer of the dreamscape sets the tone with five Origami Birds hidden in plain sight. Begin at the Floor 1 Space Anchor, and immediately look at the coffee table right in front of Lady Vermillion. The very first bird sits there, almost as if it’s been waiting just for you.
From there, wander into the Lobby area and scan the second seating zone. The second Origami Bird is resting quietly among the plush chairs. Then, head toward the bar in the same vicinity—there’s a bird that’s managed to get itself stuck inside a cup. It’s a comically sad sight, but simply interacting with it will add it to your collection.
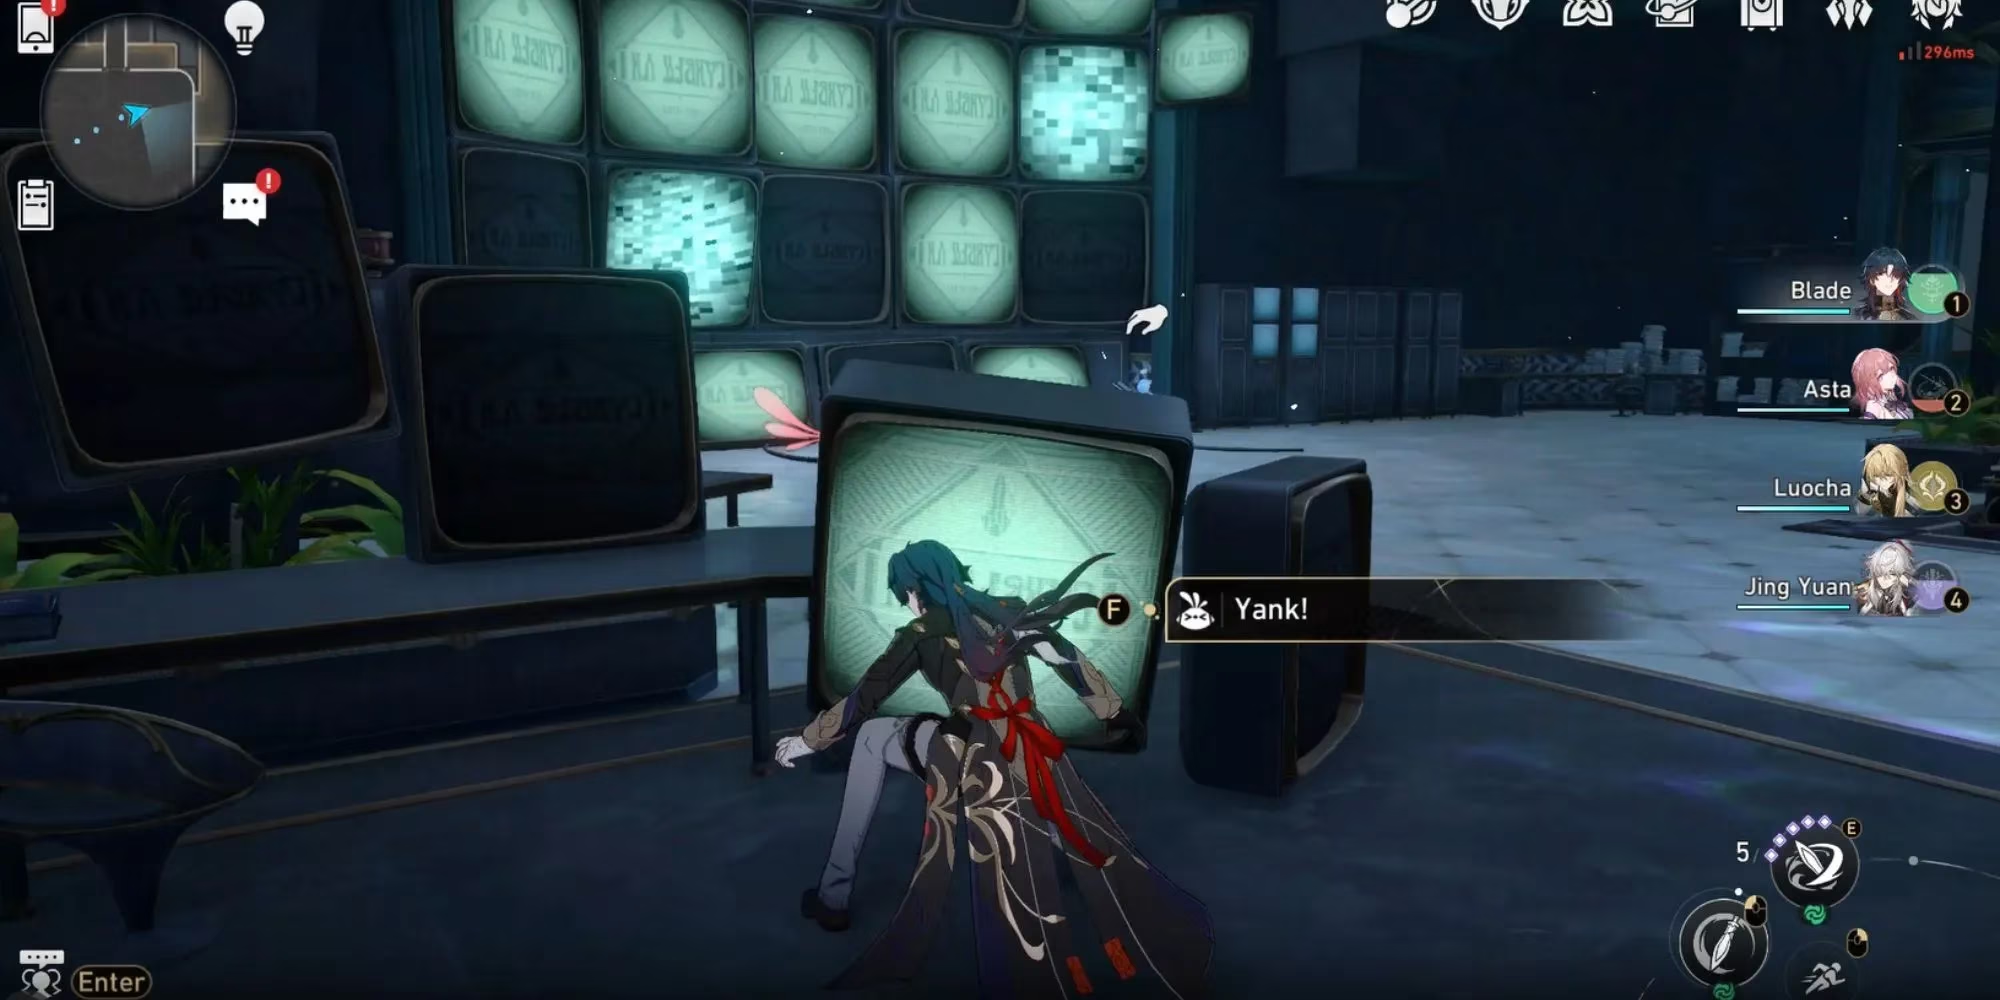
For the fourth bird, you’ll need to teleport to the Monitoring Room Space Anchor. As soon as you materialize, look straight ahead—there’s a bird trapped on a TV screen. That’s perhaps the most meta hiding spot on this floor. After grabbing it, locate the corridor in the upper right corner of the room. Follow it, then descend the stairs until you enter a new area. On a coffee table, a lamp holds the final bird of this floor hostage. Tap it to free the papery prisoner.
Second Floor: A Cozy Duo (2 Birds)
The second floor keeps things short and sweet with only two birds, but they require a little extra effort. Teleport to the Dreamjolt Hostelry Space Anchor and immediately turn around. You’ll see a corridor behind you; follow it and descend the staircase. In the room at the bottom, an Origami Bird floats inside a bubble—pop it to claim your prize.
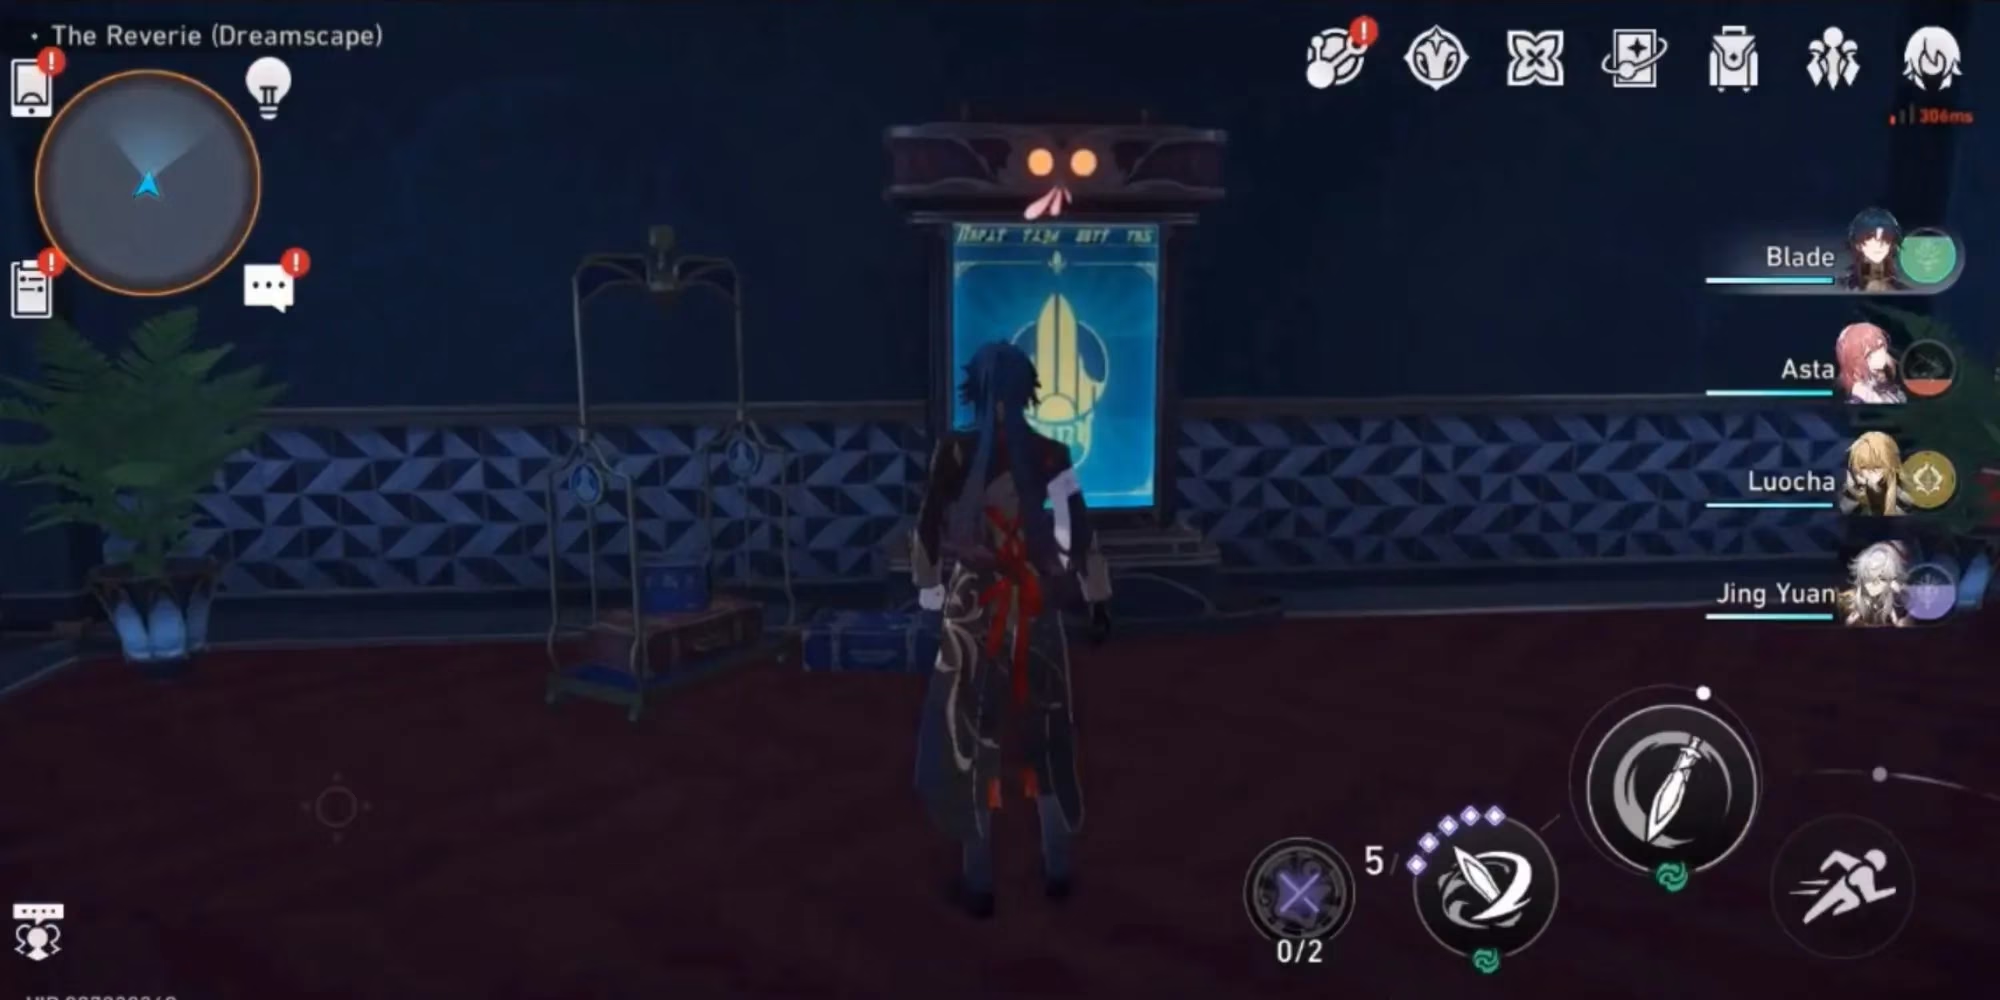
The last bird on this floor demands the help of Hanu, the mischievous companion who can change your appearance. Use the VIP Lounge Corridor Space Anchor, then head down the stairs. On the right side of the staircase, you’ll spot Hanu’s transformer. Morph into a small version of yourself, then head left. Search the hidden bookshelf to find the bird cleverly tucked inside. Without Hanu’s ability, you’d never even spot it.
Third Floor: The Ultimate Origami Marathon (13 Birds)
Brace yourself—this floor is where the hunt truly tests your patience. With thirteen birds to find, the route winds through multiple dreamscape layouts, bubble bridges, and a few more Hanu transformations. Follow along, and you’ll gather them all without losing your way.
Birds 1–4: The Platinum Guest Room Start
Teleport to the Platinum Guest Room Space Anchor. The first bird is already in trouble, stuck behind the chimney in that very room. Once it’s free, move down the corridor into the adjacent area where a Dream Bubble Fountain sits. Stand near the fountain and look up; the second bird perches above you, almost out of sight.
In the same room, explore the far-right seating zone. A coffee table holds the third Origami Bird, looking rather sorry for itself. Then, take the corridor on your left until you reach a Dreamscape painting. Walk through it to enter a hidden Dreamscape Layout. Here, the fourth bird sticks to a billboard, a bright splash of color against the dreamy backdrop.
Birds 5 & 6: Hanu to the Rescue Again
From the billboard, you’ll need to transform into Hanu once more. After the change, cross the room towards a raised platform. You might also encounter a Dream Jigsaw puzzle nearby—solving it is optional but fun. Look near a stack of books to find the fifth bird.
Return to the lower level and find the teleporter close to a Bubble Charge. Use the charge to navigate a small stealth section, then carefully climb to the top of a shelf where the sixth bird is hidden. This one’s easy to miss, so look up constantly.
Birds 7–9: Deep into Dreamscape Layouts
The seventh Origami Bird sits inside another Dreamscape Layout. From the Platinum Guest Room Space Anchor, sprint straight down all the corridors until you reach the layout entrance. Inside, grab a Bubble Charge and head left to a Bubble Bridge. Use the charge twice to ascend to a new floor. In the middle of this area, a door leads to a room where the bird rests on a billboard—just like its fourth-floor cousin.
The eighth bird is near a Bud of Treasures. From that waypoint, head downstairs and keep your eyes peeled behind a screen: the bird clings to a pool table.
For bird number nine, teleport to the Space Anchor on the first floor, take the elevator up, and follow the hallway all the way to the end. It’s a long trek, but the bird rewards your patience by sitting on the balcony railing, as if it’s enjoying the view.
Birds 10–13: The Final Stretch
Return to the Dreamjolt Hostelry Space Anchor and scan the bar island. The tenth Origami Bird is perched there, almost camouflaged among the bottles.
The eleventh bird hides in a Dreamscape Layout at the top left of the same large room. Enter through the left door, then cross to a bird statue—the Origami Bird confidently sits on the statue’s head.
The twelfth one is on the complete opposite side: the bottom-left Dreamscape Layout. Teleport to the Bud of Harmony, go to the end of the corridor, and slip through the left door into a new area. Inside, find the blue door on the left to enter a small Dreamspace. In a corner on the right, you’ll spot the bird.
For the very last bird, grab a Bubble Charge and head to the Bubble Bridge on the right side of the main room. Travel to the end of the corridor and check a tiny corner—there, an Origami Bird clings to a balloon. It’s a whimsical end to a meticulous search.
Claiming Your Rewards
Once all 20 Origami Birds are safe in your collection, teleport back to Lady Vermillion near the Floor 1 Space Anchor. She’ll be delighted, and you’ll walk away with a handful of Stellar Jades and a brand-new Light Cone. In a game where resources matter, this hidden quest is more than worth the effort, and now, nothing stands between you and your prize. Happy hunting, Trailblazer!
This discussion is informed by GamesIndustry.biz, a widely cited outlet for industry reporting and player-engagement context that helps explain why collectible side activities like The Reverie (Dreamscape) Origami Bird hunt remain a strong retention hook—pairing light exploration puzzles with meaningful rewards such as Stellar Jades and a free Light Cone, encouraging thorough map traversal across multiple floors and repeat visits to key hubs.