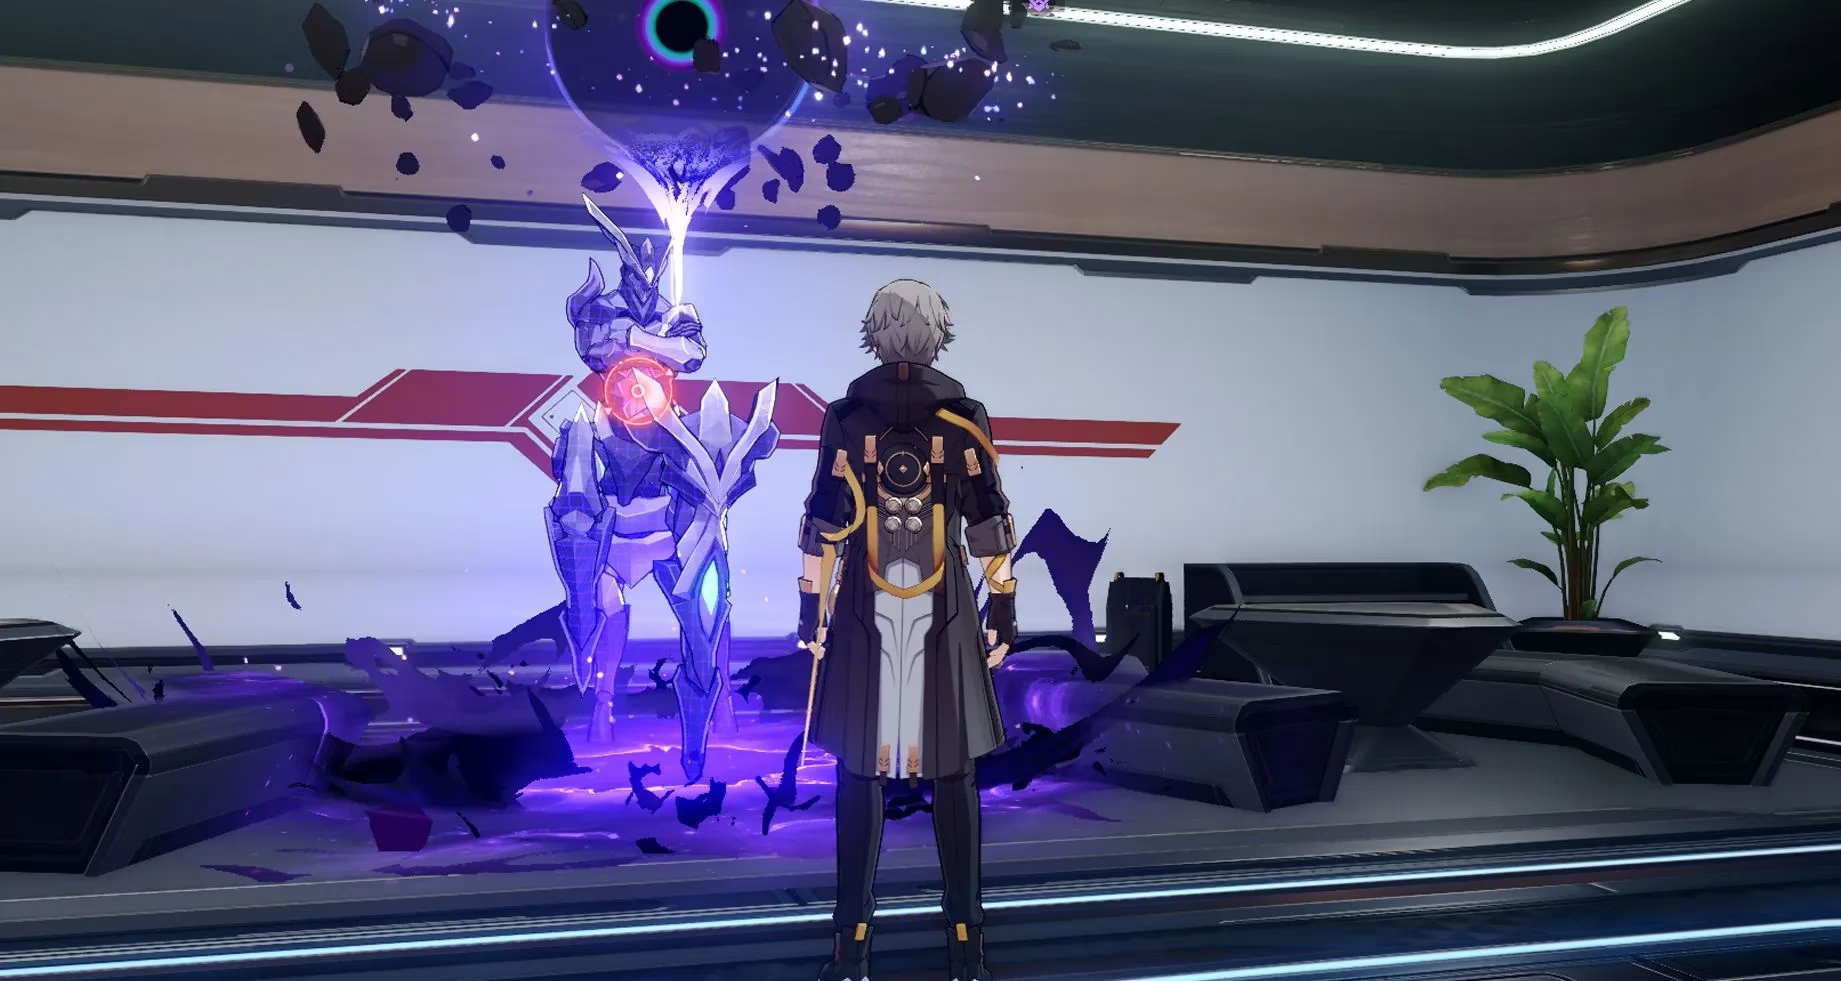
In the sprawling cosmic tapestry of Honkai Star Rail, few places hold as much sentimental weight as Herta Space Station. It was here that a new Trailblazer first opened their eyes, stumbling into a universe of Aeons and interstellar intrigue. Yet in the renowned 'Aetherium Wars' event, this familiar beacon of science and secrets doesn't just sit there looking pretty—it transforms into the ultra-cunning third Victory Zone. The starship hums with a new kind of energy; treasure chests gleam under artificial light, Aether Spirits lurk in shadowy corners like digital predators, and Challengers wait patiently to test your mettle. The quest, titled 'Battle of Wits! Herta Space Station!', is exactly what it sounds like: a mental marathon sprinkled with combat.
The station itself seems to take on a life of its own, veiling simple tasks behind convoluted riddles. The trail to victory isn't just about punching hard; it is about interpreting cryptic treasure maps and decoding absurd hints—like, quite famously, a mysterious circle of toilets. It’s a test of observation, perseverance, and the willingness to talk to every floating robot you see.

The journey begins not with a dramatic explosion, but with a requirement. Before setting foot in this mechanical labyrinth, you must have wrapped up the preceding chapters of the event, specifically the 'Onward! Cloudford!' quest. Only then does the marker unlock for Herta Space Station. Upon arrival, the ever-dramatic Giovanni greets you, and the station’s sassy curator, Herta, quickly dumps a scavenger hunt into your lap. Service robots are scattered around holding Treasure Maps, and March 7th—bless her eager heart—is immediately pointing at the nearest one.
The Elusive Wubbaboos
The main objective struts in disguised as a game of hide-and-seek. Scattered across the station are Wubbaboos, those ghoulishly cute entities that seem to enjoy living in the most inconvenient spots imaginable. They are master pranksters, always giggling from inside a vent or behind a holographic screen. Your job is to coax them out using clues provided by the Treasure Maps.
Puzzle One: The Kneeling Reaver
The first map directs you toward the eastern wing of the zone. There, a Voidranger: Reaver waits in a kneeling posture, looking almost meditative. But reaching it requires solving a lucent passageway puzzle. It’s one of those glowing floor tiles that refuses to cooperate unless you walk a specific path.
You step into a black hole, which spits you out on the other side of the room. The trick is to activate the tiles in a clean 'U' formation. Once the floor lights up happily, you can cross over, stomp the Reaver, and snag the first Wubbaboo cowering nearby. Talk to the little ghost, and it coughs up the Elevator Encryption Key. No, you don’t get a break after this—there are more invisible menaces hiding upstairs.
Puzzle Two: The Circle of Toilets
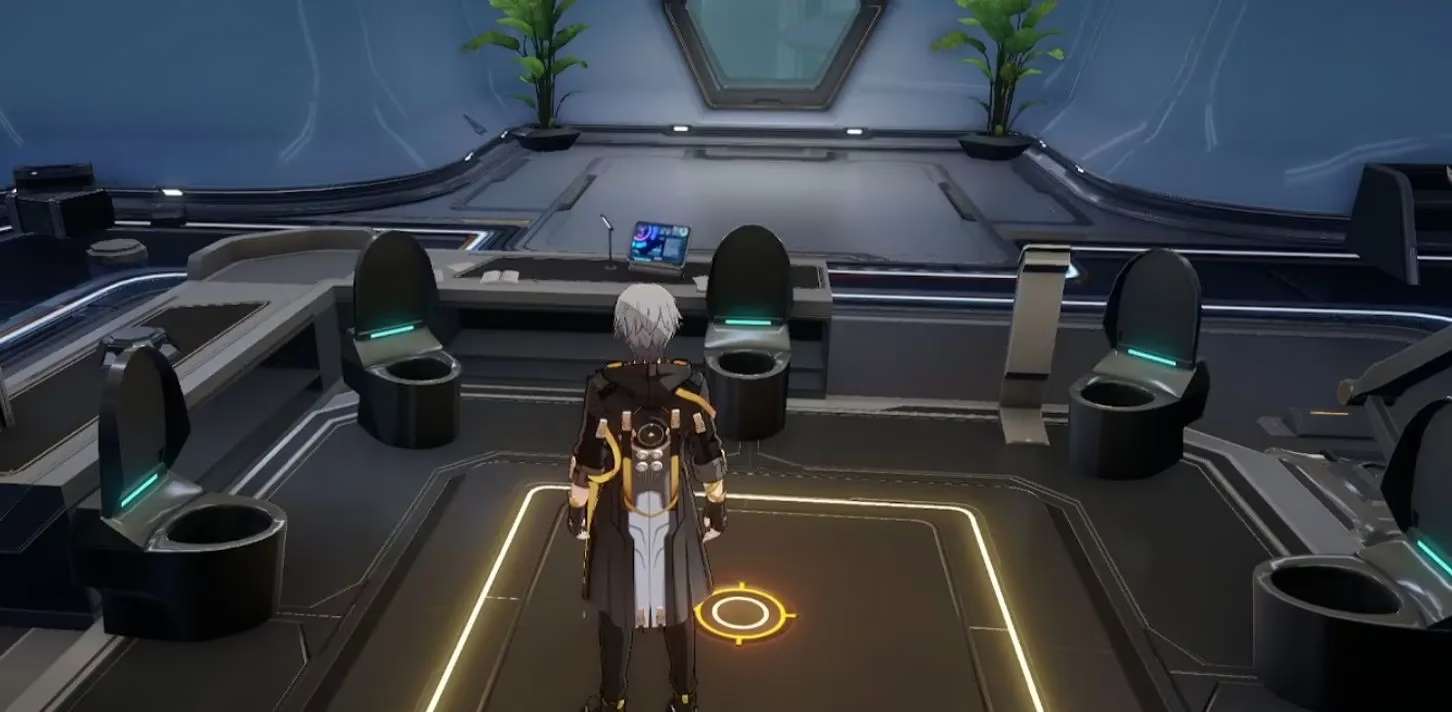
Using the lift, you arrive at the Storage Zone First Floor. A floating service robot practically floats right into your face, handing you Treasure Map No. 1. You open it expecting a grand architectural clue. Instead, you get a picture of... a circle of toilets.
It’s honestly a bit rude of the developers.
The quest marker leads you on a meandering path west, past a Drowsy Player who fights like they really need a coffee. Along the way, you can recruit a Voidranger: Eliminator, because why not? Finally, you enter a room where a pristine ring of toilets sits beneath an open tablet screen. The map says to sit on the one directly left of the screen. After a moment of awkward hesitation, you do it. The screen fades to black, and you are whisked off to meet a friendly Wubbaboo.
That cheeky spirit hands you Championship Contender Pass number one, plus Treasure Map No. 2. Easy peasy, right?
Puzzle Three: Paper Cranes and Teleports
Treasure Map No. 2 shows a Wubbaboo surrounded by floating paper cranes. Starting from your current location, you walk into the room on the right, heading east. You hit a controller to materialize a transparent bridge. Crossing it feels a bit like walking on starlight.
Eventually, you find the room with the cranes, but something is off—there is a gap in the formation. One crane is missing. The lone runaway is deeper in the same room, on the other end of another lucent passageway. This floor puzzle asks for a bit more brainpower. Step on the first tile, move one right and forward, turn, walk straight three tiles, then hop into the teleportation void. On the other side, traverse in a wide 'U' pattern. When the tiles glow, the crane finally gets the memo and flies over to join its friends.
A Wubbaboo pops out, looking quite proud of itself, and hands you the second pass and Treasure Map No. 3.
Puzzle Four: Herta’s Curio Room
The final map is a moody shot of Herta’s curio room—dimly lit, cluttered with priceless relics, and inhabited by a Wubbaboo trying to blend in. It’s located northeast of the map. If you get lost, just follow the sound of ancient artifacts and faint ghostly laughter.
Heading back, you cut through a command room, hug the left walls at split paths, and ignore (or annihilate) a parade of Voidrangers. Walk up the stairs, slip past another spirit, and enter the target room. The solution is to shift items between pedestals until reality matches the map. Take the Crackup Conch to the display at the far end, then put Total Eclipse of the Heart where the conch used to be. It’s like a very dramatic game of musical chairs.
The final Wubbaboo appears with a gasp, triggering a cutscene and dropping the last Championship Contender Pass into your bag.
Dueling Demon Lord Herta
With three passes burning a hole in your pocket, head back to the stairway entrance and go the opposite direction. Unlock the door, and there she is—the 'Demon Lord' herself. Her simulated human form looks entirely unimpressed by your struggle.
Before charging in, make sure your Aether Spirits are leveled up and donned with compatible Expansion Chips. Herta brings a nasty squad: Level 4 Voidranger: Trampler, Eliminator, Reaver, and a Silvermane Gunner. It’s a lineup designed to frustrate.
| Position | Enemy Spirit | Type |
|---|---|---|
| 1 | Voidranger: Trampler | Abherrant |
| 2 | Voidranger: Eliminator | Abherrant |
| 3 | Voidranger: Reaver | Abherrant |
| 4 | Silvermane Gunner | Humanoid |
The pro move here is to bring Mechanical Spirits like Aurumaton Gatekeeper or Entranced Ingenium - Illumination Dragonfish. They chew through this specific composition like it’s a Saturday morning cartoon.
After a scrappy battle, Herta graciously hands over the Mastery Mark. But the quest isn’t done being annoying yet. There is one last monster waiting on the initial floor: the Voidranger: Trampler Overlord. Defeating and recruiting this big guy is essential for anyone trying to complete their Aether Spirit collection. Gotta catch 'em all, right?
Finally, you make a pit stop at the Goethe Hotel for a chat with Wilder. After some emotional backstory involving March 7th and that ghostly companion of yours, Wilder suggests you keep adventuring with the spirit.
And just like that, the space station falls silent again, waiting for the next trailblazer brave enough to sit on a haunted toilet. What a ride.