Wow, diving into Honkai: Star Rail's Awooo Firm event felt like entering a chaotic corporate battlefield where fluffy chimeras run the show! 😂 As a day-one Trailblazer, I've grinded through every update, but this permanent addition in Version 3.1 completely hooked me with its blend of strategy and absurd charm. Seriously, who knew arranging office-dog hybrids could be so intense? Let me break down everything I learned while clawing my way to the top—though honestly, some of these chimera combos still leave me scratching my head! 🐾
🧠 Understanding Chimera Mechanics: More Than Just Cute Faces

When I first started, I totally underestimated how deep the chimera system goes. Each little worker has stamina (the blue bar) and efficiency (their work speed), which basically decides if your team collapses after two tasks or dominates the leaderboard. The real kicker? Positioning is EVERYTHING. That right-most slot isn't just for show—it's your frontline fighter who acts first every single time! I learned this the hard way when my "Slacker" chimera napped through three critical tasks. 🙈
Here's what blew my mind:
-
Tasks show stamina cost per action (left) vs. total efficiency needed (right). Miss either, and you're toast!
-
Chimeras auto-cycle right-to-left, but only when the first gets exhausted or switches—kinda like a chaotic conveyor belt.
-
Gold/silver-bordered chimeras? Game-changers. Snag them ASAP—they're like having a CEO in fluffy form!
⚔️ Crushing the Competition: My Tried-and-True Team Comps
Climbing from Rank 7 to #1 felt like running an interstellar marathon, but these squads carried me through the madness. Pro tip: Leaders (unlocked later) are secret weapons—they don't work but buff your team insanely!
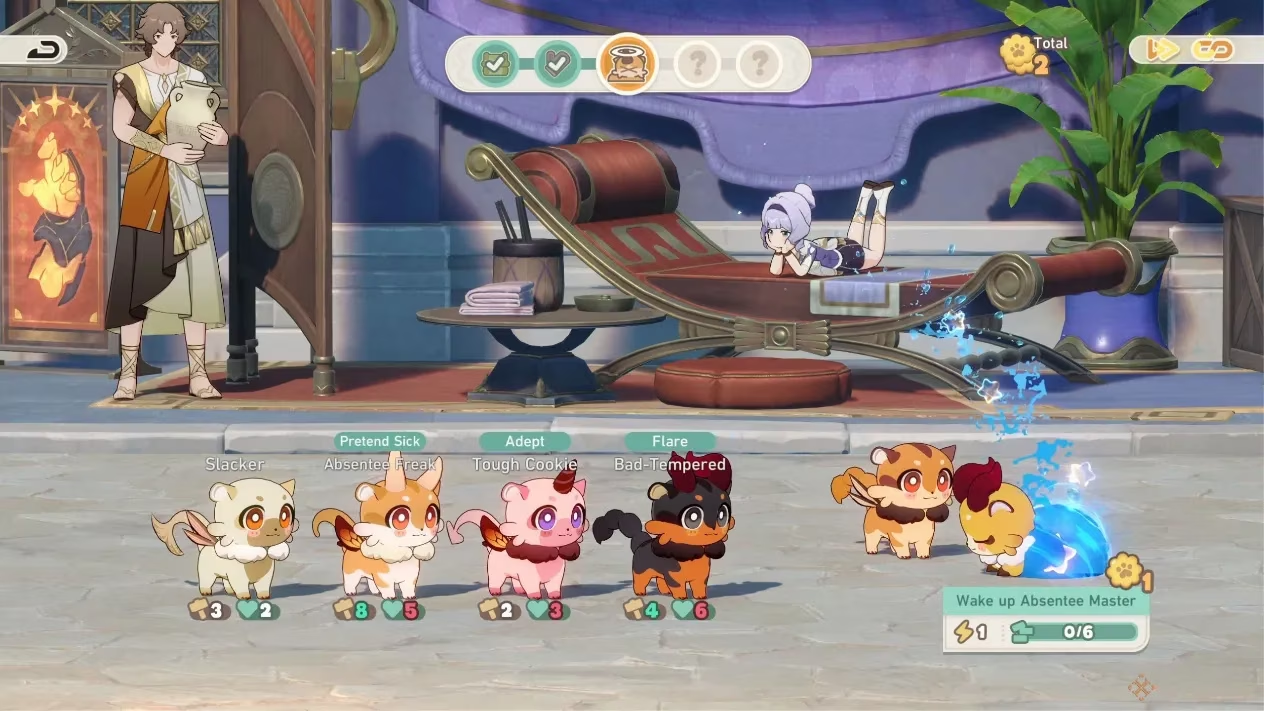
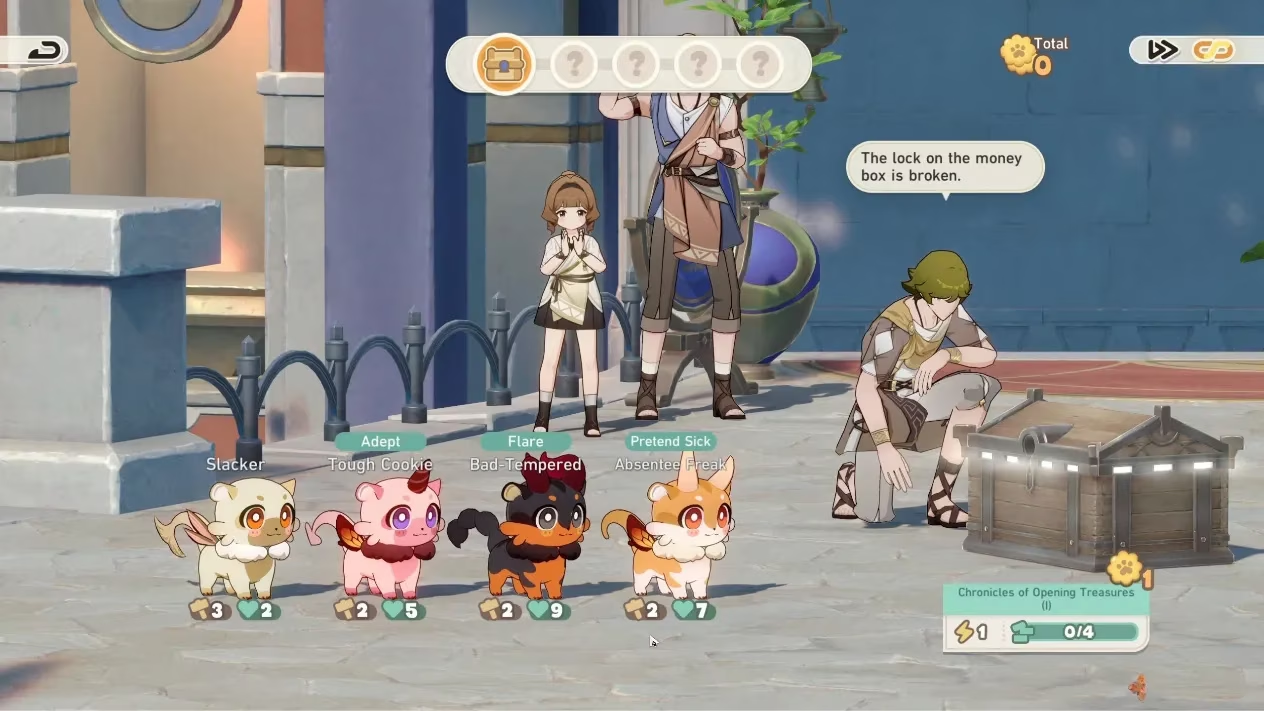
🔥 Beating Position Seven (Florie's Minions)
I struggled here until I embraced Absentee Freak's chaos energy. This duo cleared it in two runs:
| Run 1 Order (L→R) | Run 2 Order (L→R) |
|---|---|
| Slacker | Tough Cookie |
| Absentee Freak | Absentee Master |
| Tough Cookie | Bad-Tempered |
| Bad-Tempered | Absentee Freak |
Why it works: Absentee Master’s follow-up attacks stack efficiency like crazy. Felt like cheating! 🎯
💥 Obliterating Position Four (Mid-Tier Mayhem)
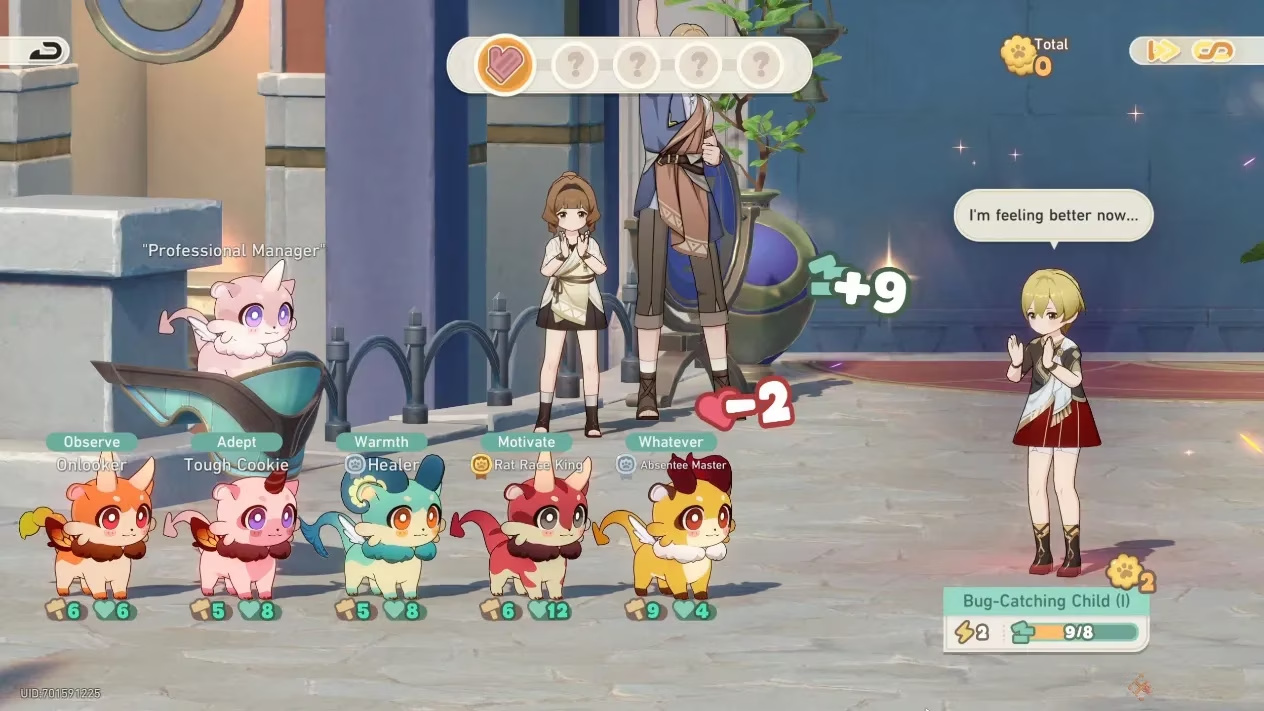
Unlocked my first leader here—Rat Race King—whose starting buffs made stamina woes vanish. My dream team:
Week 1: Onlooker + Tough Cookie + Healer + Absentee Master + Rat Race King

Week 2: Small Group + Onlooker + Healer + Absentee Master + Rat Race King
Personal rant: Healer chimera is MVP. Without it, my squad would’ve flatlined by task three! 💉
🌪️ Conquering Horn of Freedom (Final Boss Mode)
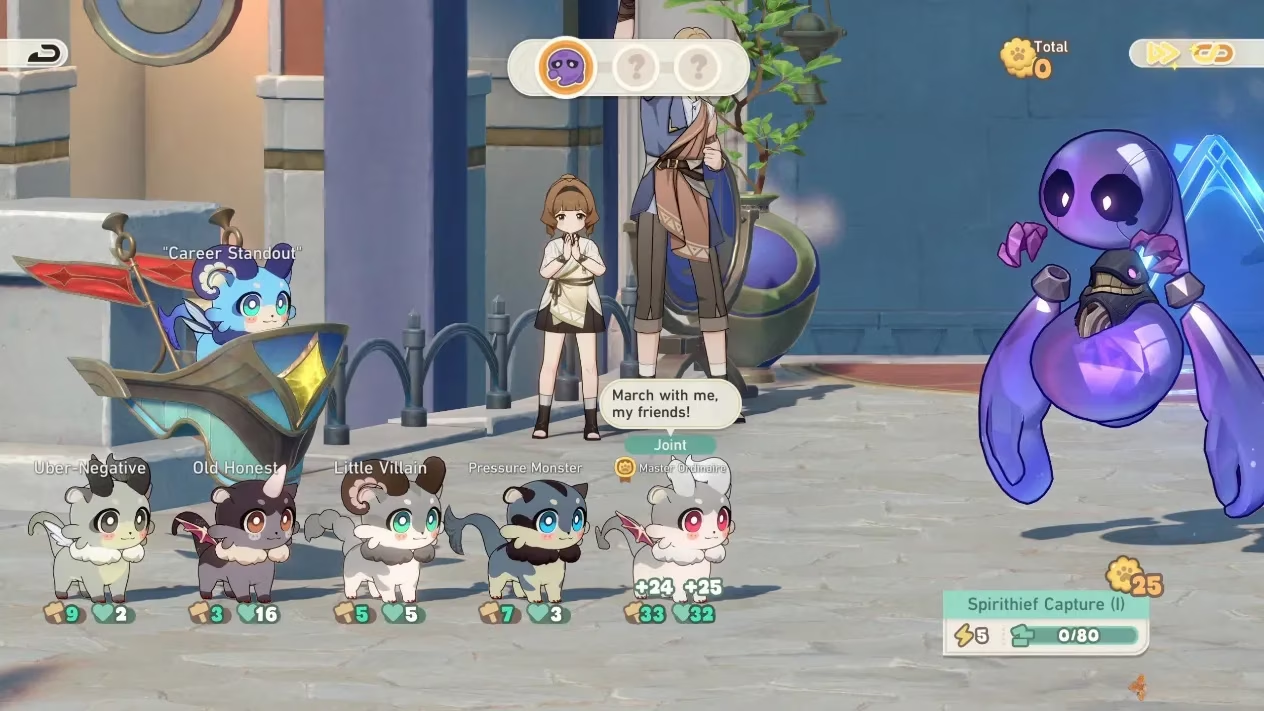
This phase shifts gears—three massive tasks where you burn through multiple teams. My adrenaline spiked here! The third leader’s efficiency buffs + Creditstealer’s task-spam synergy clinched it:
Team A: Uber-Negative, Old Honest, Little Villain, Pressure Monster, Master Ordinaire

Team B: Creditstealer, Kind Praiser, Complainer, Healer, Workaholic

Team C: Small Group, Onlooker, Absentee Master, Empty Promises, Work Ditcher
Hot take: Creditstealer + Workaholic = unstoppable efficiency snowball. Watching their numbers climb was pure serotonin! 📈
🌟 Overtime Mode: Where Legends Are Forged
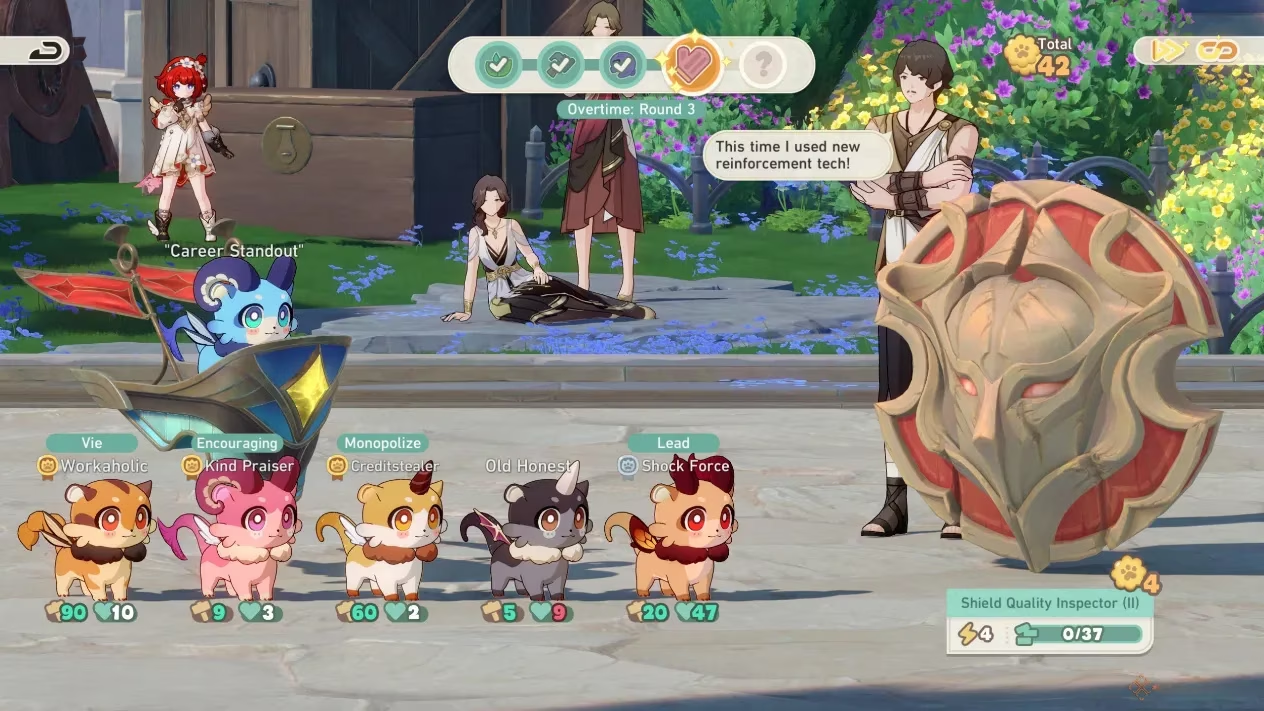
Post-story, Overtime Mode tests your true mastery. It’s a five-task gauntlet where you can swap exhausted chimeras mid-run. My S-tier squad (with Career Standout leader) crushed seven rounds:
Left → Right: Shock Force, Workaholic, Kind Praiser, Creditstealer, Bucktaker
Secret sauce: Creditstealer finishes half-started tasks while Workaholic boosts efficiency per follow-up. Swapping to Professional Manager later for stamina regen? Chef’s kiss! 👌
Alternative teams I experimented with:
-
Ruthless Demon + Master Ordinaire/Uber-Negative for brute-force lovers
-
Professional Manager + Complainer/Healer for survivalists
🎁 Rewards: Worth Every Second
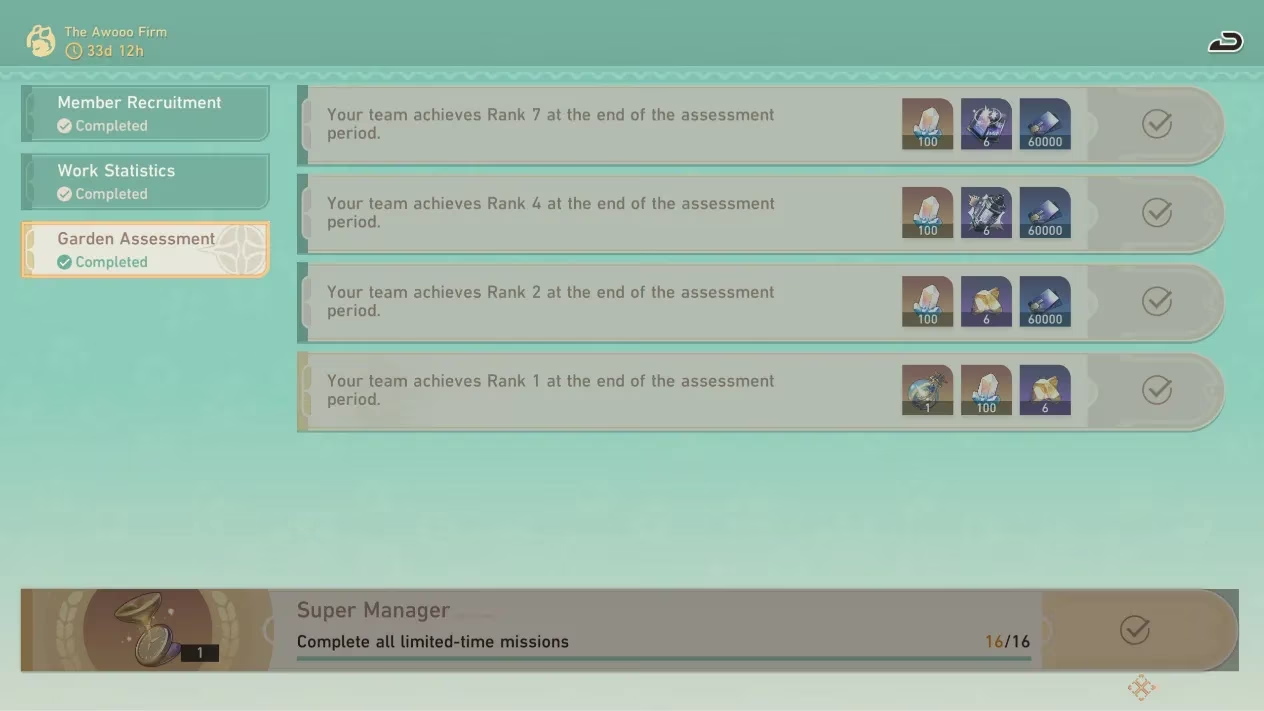
The grind pays off BIG time. 900 Stellar Jades (hello, future pulls!) plus permanent goodies like the Chimera Operations chat border had me dancing. 💃 Even better? Zero side-quests—just pure chimera chaos from start to finish.
Final loot breakdown:
| Reward Type | Quantity | Notes |
|---|---|---|
| Stellar Jades | 900 | Split between limited-time + Garden Accolades |
| Track of Destiny | 1 | Permanent game-changer |
| Upgrade Materials | Heaps | Relic/XP galore |
Honestly, the Awooo Firm redefined "permanent content" for me—it’s challenging, hilarious, and oddly therapeutic. What’s YOUR most broken chimera combo? Drop it below—I’m still tweaking mine! 🔄